Buub Shop UK
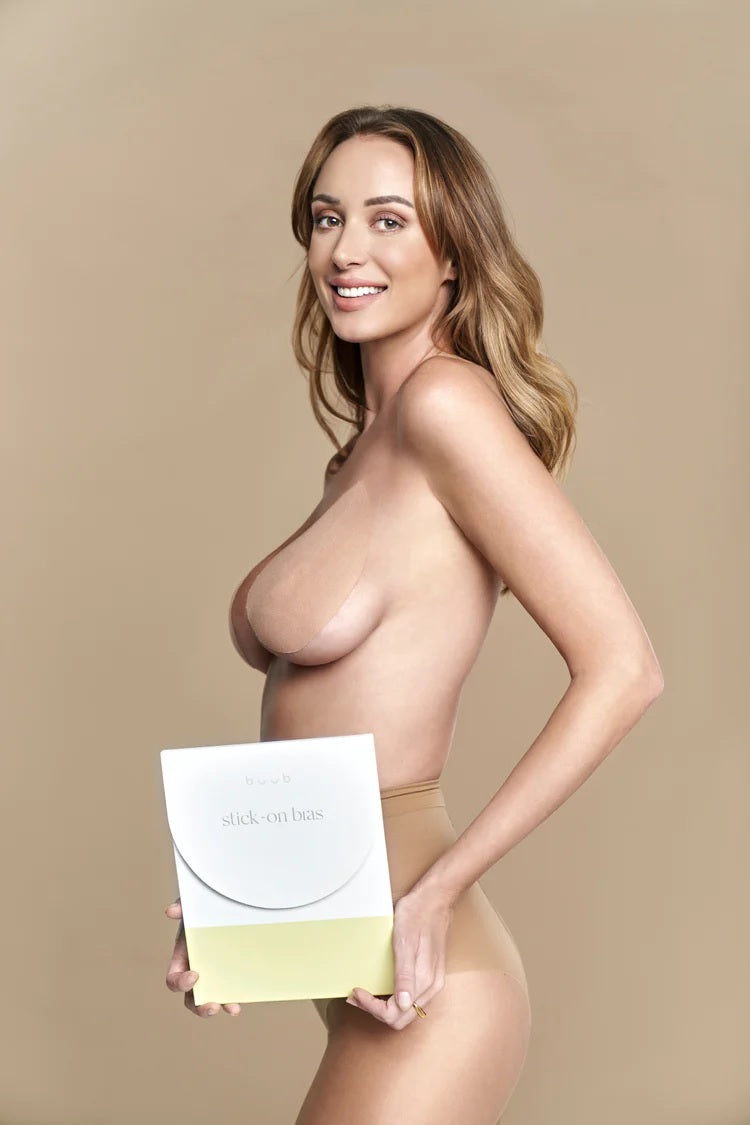
Ultimate Stick on Bra Styling Bundle
Ultimate Stick on Bra Styling Bundle
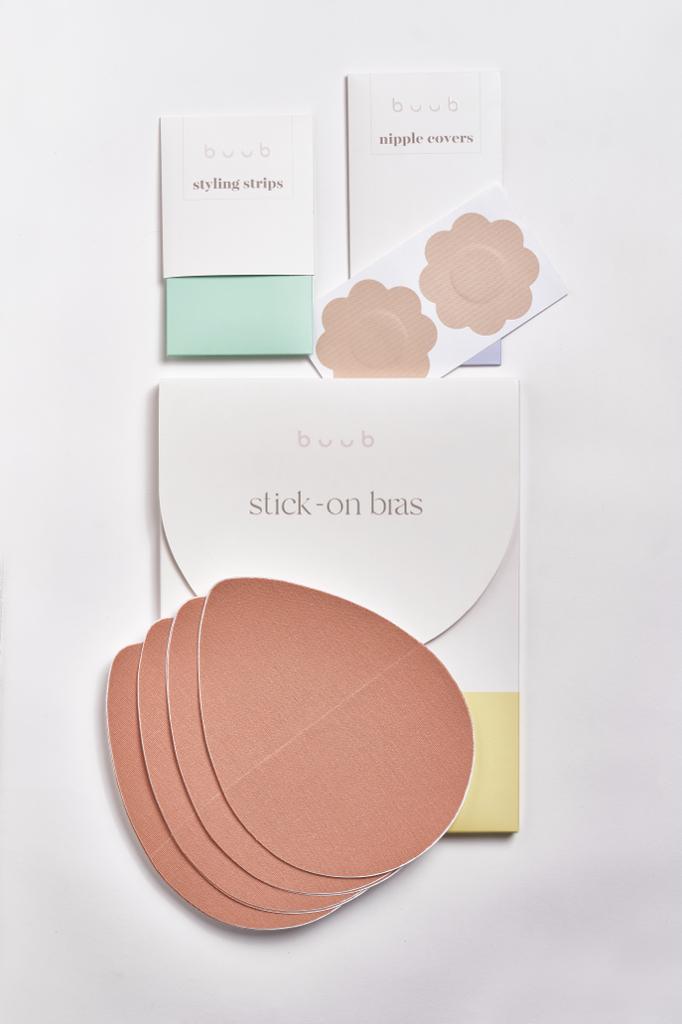
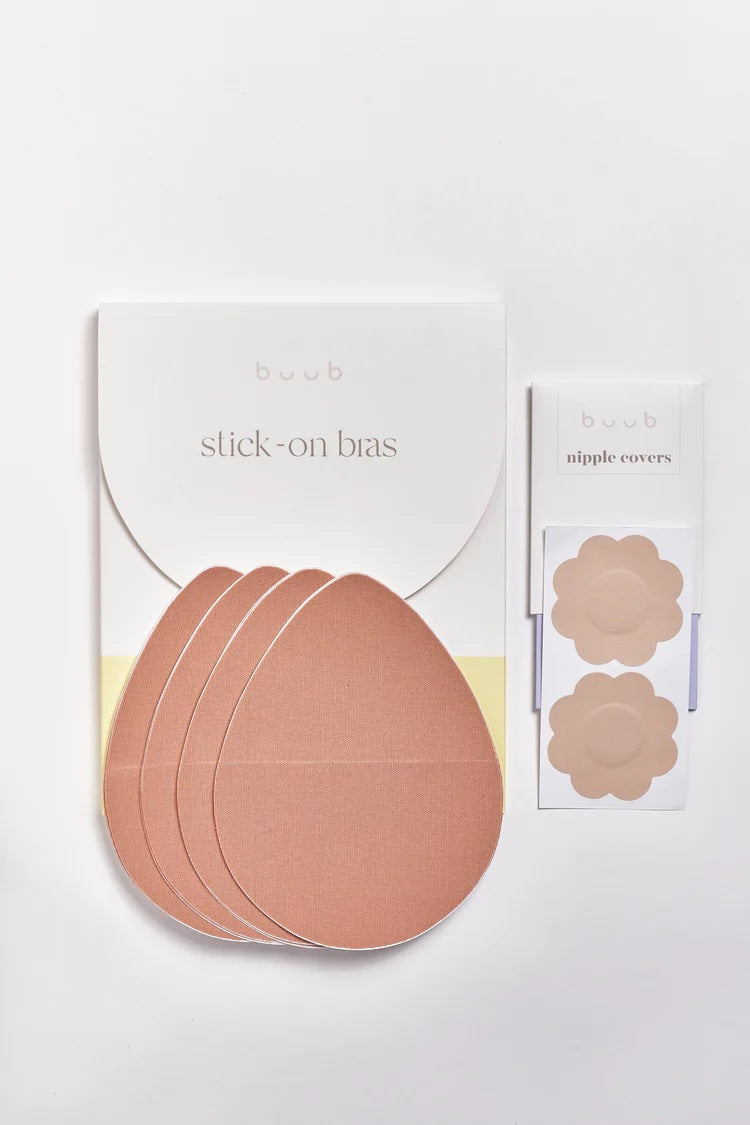
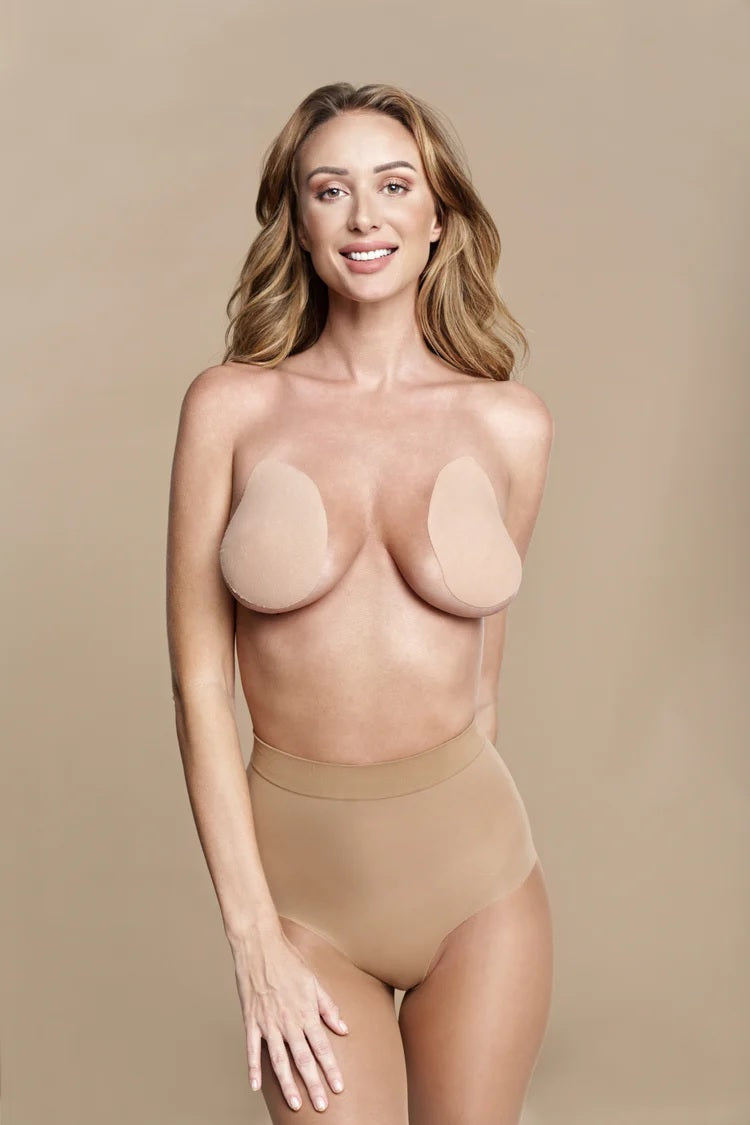
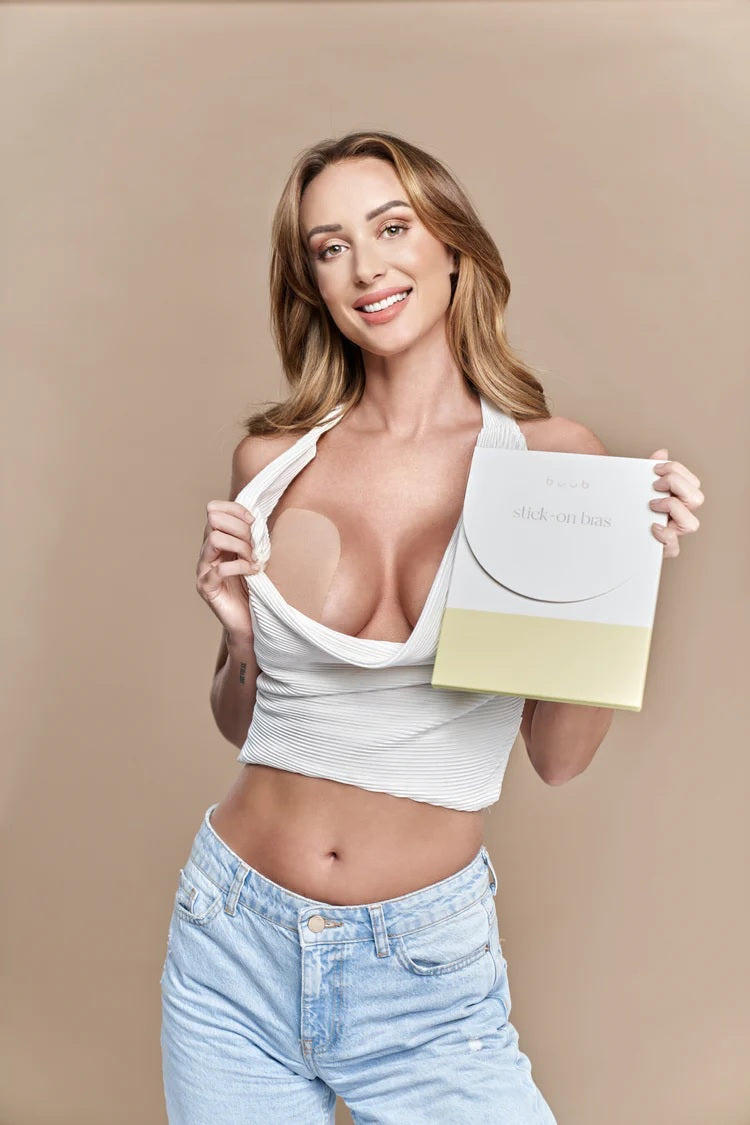
Our Buub Ultimate Stick on Bra styling bundle provides you with the best support possible with the freedom of not needing a bra whilst keeping your outfit firmly in place all night long.
Consists of:
- Pack of Stick-On Bras
- Nipple Covers
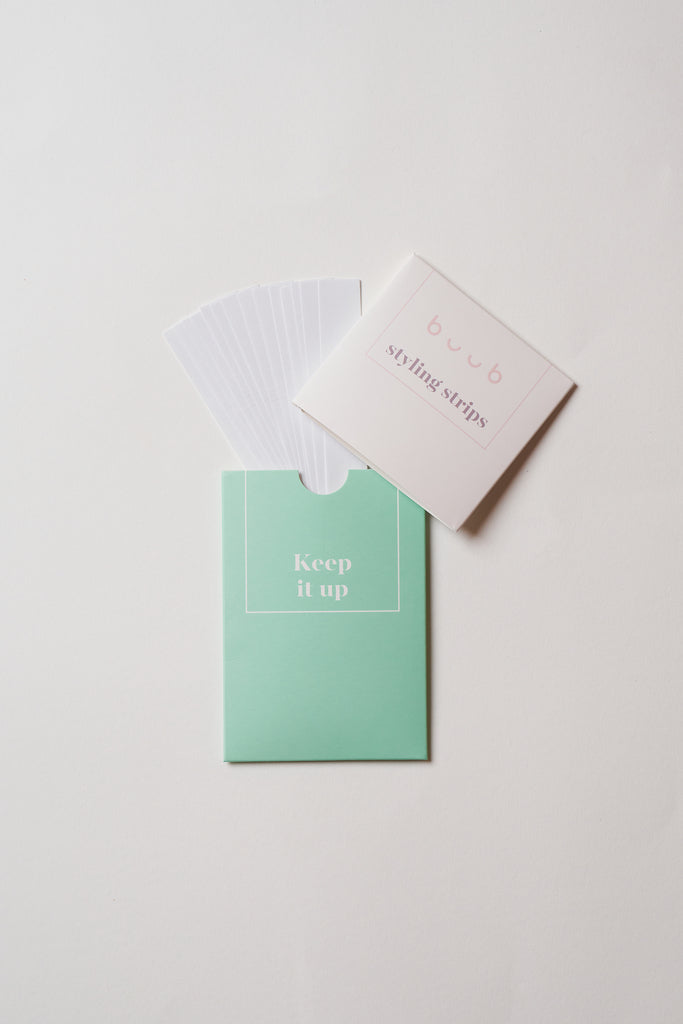
- Clear styling strips
- Simply choose your skin colour and cup size.
Couldn't load pickup availability
PRODUCT DESCRIPTION
PRODUCT DESCRIPTION
SIZE GUIDE
SIZE GUIDE
HOW TO USE
HOW TO USE
Body Tape
Buub Body Tape is easily removed by peeling off gently, or dampening the tape in oil (coconut oil is perfect). Leave it to soak in for up to 5 minutes as the oils will help for a smoother removal. We recommend using this method if you have sensitive skin.
When ready, slowly peel the tape away from the body at a 45 degree angle so as not to pull the skin. Take it easy here, there's no need to rip or rush. Apply more oil to any stubborn patches.
After removal, use more oil and a cotton pad to remove any adhesive residue, if required. Please read our safety guidelines page before using our products.
A VARIETY OF STYLES
Below are a few idea for ways to apply our Body Tape to suit any garment. Use these to start from and create your own styles.

Stick-on Bras
HOW TO APPLY

- Make sure your chest and boobs are clean and dry, free of any oils, powders and moisturisers.
- Apply your Nipple Covers. Peel the backing paper from the bottom half of the bra.
- Lift your breast and place the exposed portion of the bra under your breast where you would like the bra to sit.
- Remove the top portion of the backing paper, apply a little tension but not too much and place the bra on the rest of your breast and chest. Give it a rub to stick it in place.
- Repeat on the other breast. Pop on your clothing and trim the bra if needed.
- Remember to use body oil or warm soapy water when removing the bra.
Bra Pads
HOW TO APPLY

- Get dressed in your desired garment, and tighten the garment if possible for best results.
- Stick one Bra Pad in place to the inside of your garment, not onto your skin.
- Scoop your breast up and towards the centre of your chest to create cleavage.
- While scoping upwards, press the insert onto the breast and press firmly to secure.
- Repeat steps 2 to 4 on the other side.
- Check in the mirror to make sure that both sides are even, and adjust if needed.
CARE INSTRUCTIONS
- Hand wash only, do not machine wash or tumble dry.
- Use your fingertips to gently wash the adhesive, avoiding contact with your fingernails to prevent damage.
- Rinse with warm water to remove any residue. Carefully shake off excess water and squeeze gently to remove any remaining water.
- Allow to air dry in a dust-free area. When completely dry, reapply the protective film and store in the travel pouch for extra protection and easy transport.
Silicone Nipple Covers
CARE INSTRUCTIONS- To wash, simply use warm water and mild soap containing no creams or nourishing oils. With the palm of the hand gently rub to clean. Try not to use nails or scratch the glue.
- Do not use a washing machine, brush, fingertips, or any detergent to clean as this causes permanent damage to the glue causing them to loose their stick.
- After cleaning, shake off all excess moisture and leave to air dry. Once dry place the protective film back on the covers and store in the pouch ready for the next use.
